

 By this time, you have confirmed a good mechanical connection, heated up and tested the solder iron, and cleaned and tinned the tip of the iron, as well as tinning the connections you are going to do the soldering on. If you haven't cleaned everything, and tinned everything - go back a page and learn how important it is to do so. By this time, you have confirmed a good mechanical connection, heated up and tested the solder iron, and cleaned and tinned the tip of the iron, as well as tinning the connections you are going to do the soldering on. If you haven't cleaned everything, and tinned everything - go back a page and learn how important it is to do so.
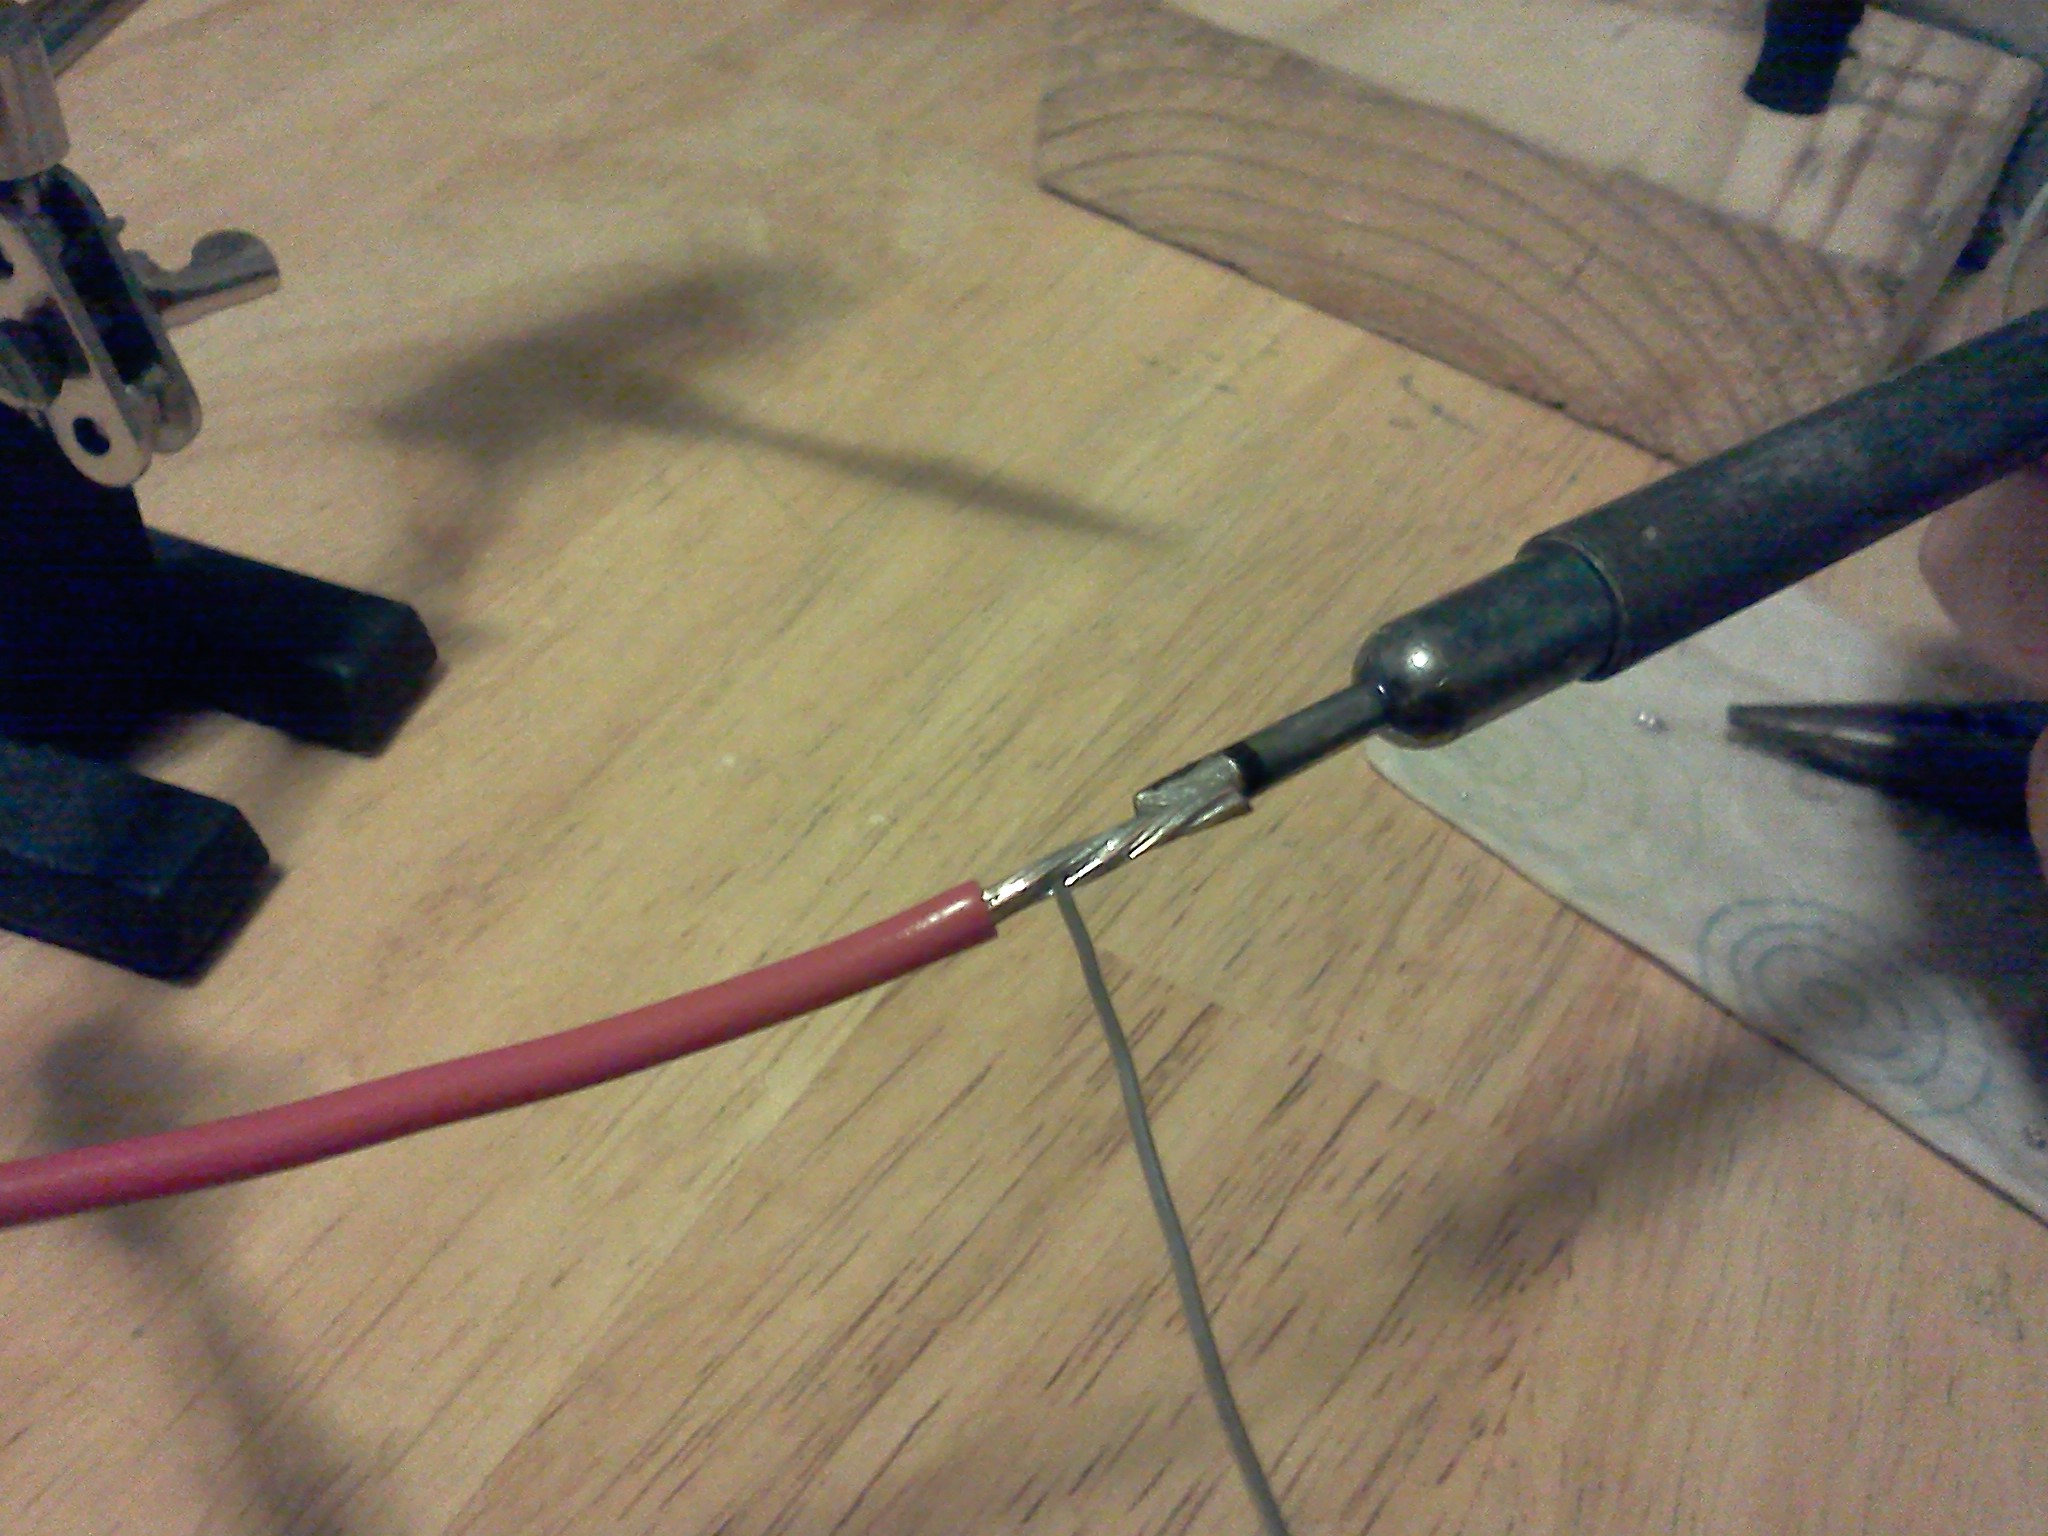
Now its time to make a good quality solid solder joint. For the sake of brevity - we will assume that you are soldering a stranded wire to a loop or hook type connector, and that BOTH the connector AND the wire has already been cleaned and tinned. The connector you are soldering to is the BASE METAL. Put the wire on the connector, and make sure you have a good mechanical connection. Soldering works best when you make the most surface area contact possible with your iron and whatever you are soldering. This is because it helps the heat transfer process. Place the FLAT side of your solder iron against the largest surface you plan on soldering (the connector). Hold it there for a moment, and while you are holding the iron still in that spot, bring the solder closer to the connector until it is touching the connector. DO NOT TOUCH THE IRON ITSELF WITH THE SOLDER! 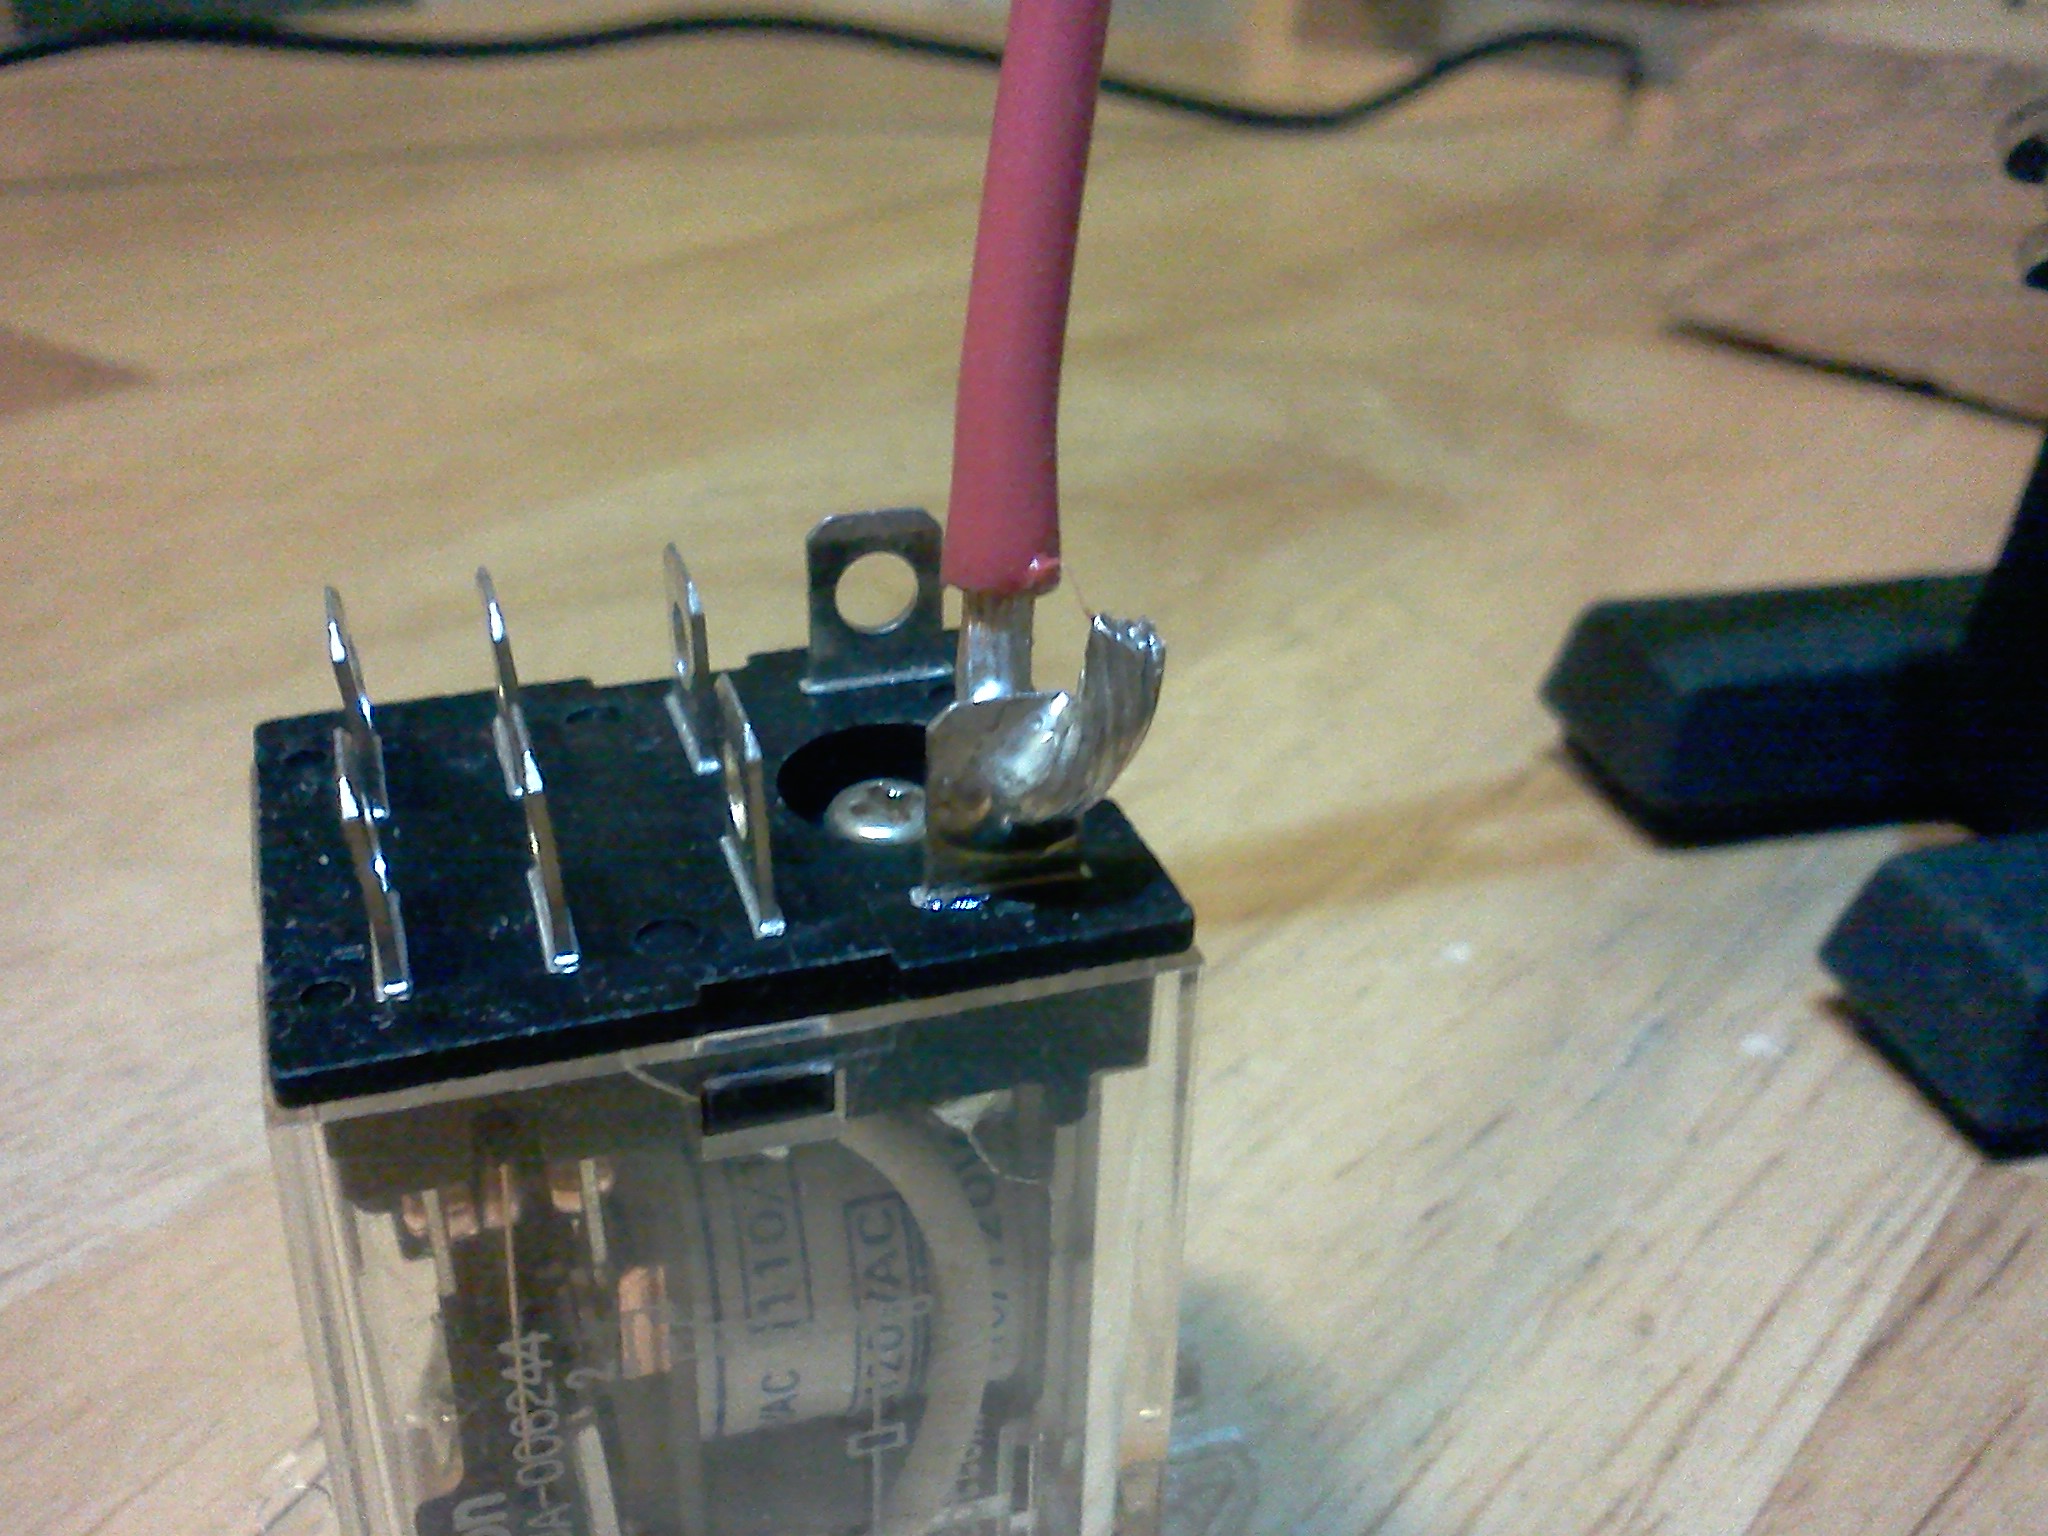 When the connector is sufficiently heated, you will literally see the solder melt from a solid state to a liquid state, and as a liquid - it will FLOW to fill the entire surface of the connector and the wire. At this point, you may move the SOLDER (not the iron) up and down the length of the wire, or the connector (only if necessary) to insure that you have solder everywhere you are trying to put it. Note - you should NOT "glob" solder on. When you are finished, you should be able to see every individual copper wire in a stranded cable, as well as the shape/outline of whatever it is you are soldering. The details of every part of the joint should be very clearly visable, and yet be coated (as if electroplated) with solder. More solder does not make it physically stronger (it is NOT the mechanical bond), nor does it make a better electrical connection - it only costs more money, because it uses more materials. When the connector is sufficiently heated, you will literally see the solder melt from a solid state to a liquid state, and as a liquid - it will FLOW to fill the entire surface of the connector and the wire. At this point, you may move the SOLDER (not the iron) up and down the length of the wire, or the connector (only if necessary) to insure that you have solder everywhere you are trying to put it. Note - you should NOT "glob" solder on. When you are finished, you should be able to see every individual copper wire in a stranded cable, as well as the shape/outline of whatever it is you are soldering. The details of every part of the joint should be very clearly visable, and yet be coated (as if electroplated) with solder. More solder does not make it physically stronger (it is NOT the mechanical bond), nor does it make a better electrical connection - it only costs more money, because it uses more materials.
Once you are satisfied that sufficient solder has been applied, now comes the tricky part of soldering. You must remove the solder away from the joint, then remove the iron away from the joint - all without moving any of the parts you are trying to connect. If you have done correctly - you should have a clean - SHINY solder joint after it cools. If it is not shiny, it is likely a "cold" solder joint. Cold solder joints are formed when the solder isn't high enough temperature to make a good electrical bond - which can often happen if the work is moved mid-cooling process, but can also happen because of not using enough heat, or trying to solder with a dirty iron/connector. Moving the parts before they are completely cool will cause it to form a "cold" solder joint. Cold solder joints are clearly visable, because when it cools, it will not be shiny, it will be dull in appearance, and may possibly show signs of "cracking","crumbling", or "clumping". If you wind up with a cold solder joint - there is only one fix - resolder it. Not doing so will guarantee electrical failure in your circuit sometime in the future (if not right away). When you are satisfied that you have made a good solder joint - clean off your solder iron, lightly tin it, and put it away. If you need to make multiple solder joints (as is typically the case), feel free to make all the solder connections you need to before putting your solder iron away. Make sure that all the connections you soldered are clean, shiny, and free from cracks. Use a magnifying glass to look at them if you have to. |

| (On The Following Indicator... PURPLE will indicate your current location) | |||||||||||||||||||||||
| 1 | 2 | 3 | 4 | 5 | 6 | 7 | 8 | 9 | 10 | ||||||||||||||
[COURSE INDEX] [ELECTRONICS GLOSSARY] [FREE ONLINE ELECTRONICS COURSE] [HOME]
| Otherwise - please click to visit an advertiser so they know you saw their ad! |
