

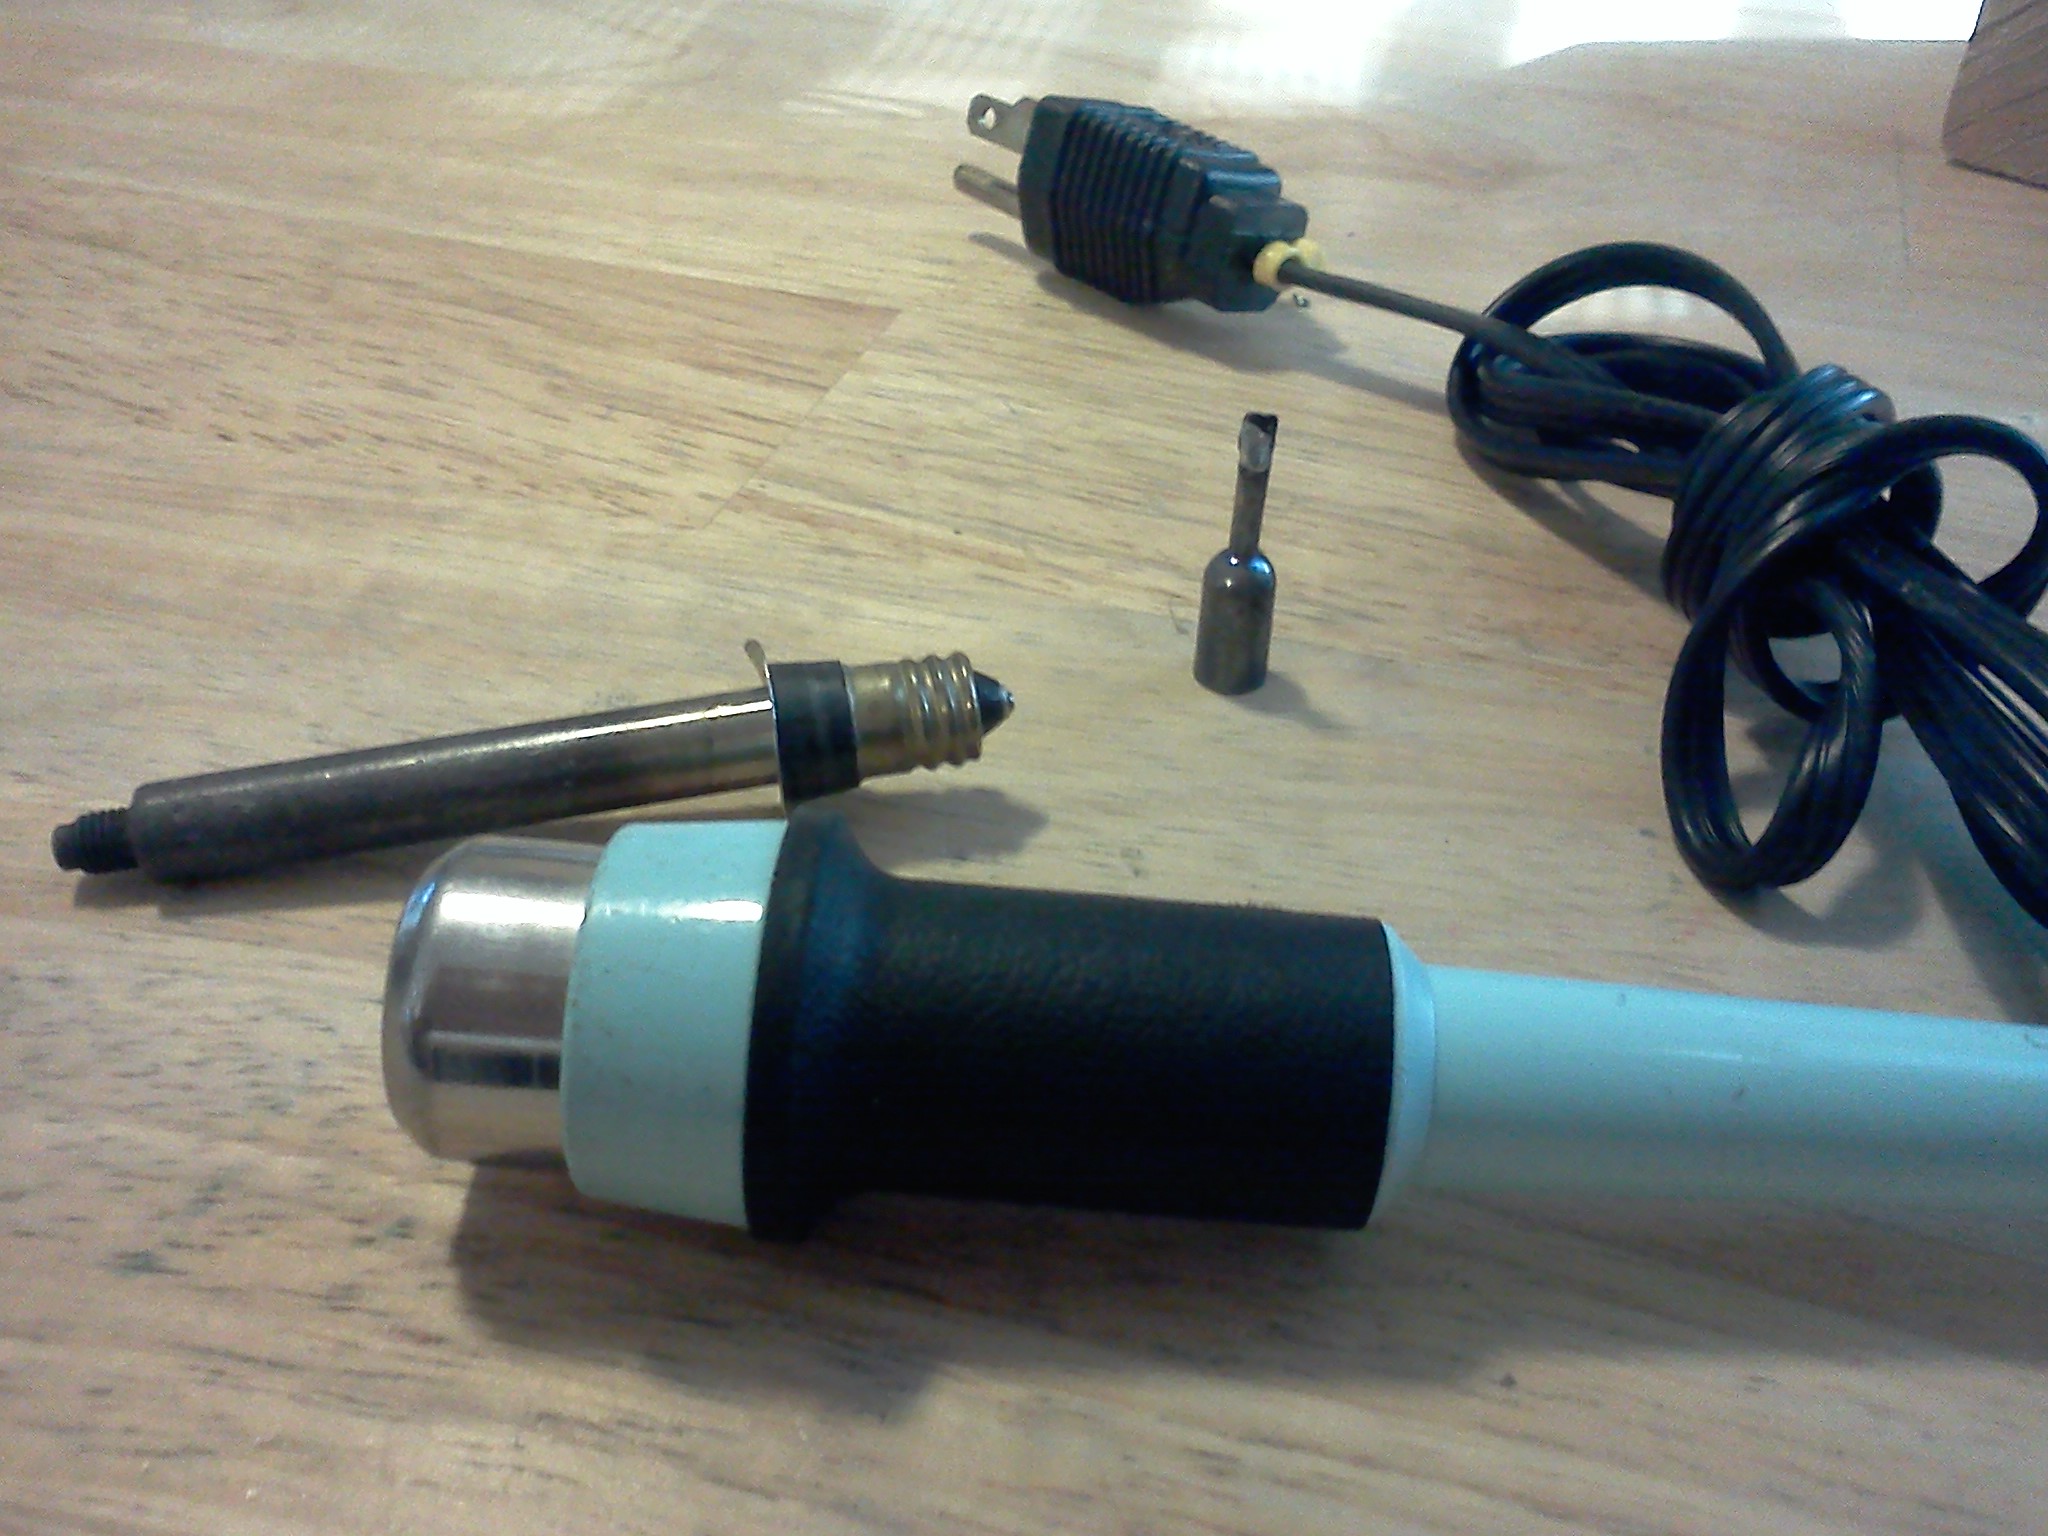
 There are several kinds of soldering equipment sold on the market because there are so many different kinds of soldering! People solder pipes, they solder stained glass, they even solder jewelry. What we intend to cover here is soldering of electronic equipment. There are several kinds of soldering equipment sold on the market because there are so many different kinds of soldering! People solder pipes, they solder stained glass, they even solder jewelry. What we intend to cover here is soldering of electronic equipment.
Before we get too far - lets get a firm grip on what soldering isn't, then we can better grasp what soldering is. Soldering isn't bolting, screwing, riviting, or otherwise fastening. It is not intended to hold, bond, or otherwise keep things together indefinately. That is what nuts, bolts, and lock washers are for. If you don't want it to fall apart - don't expect solder to keep it together. Soldering isn't welding. In welding you use heat to melt two different pieces of metal to their melting point, and join them so that they become one solid piece of metal. When you are done - you have a very mechanically sound connection that is stronger than using a nut and bolt! In Soldering, you only melt ONE piece of metal to its melting point - the solder itself. And if done proplerly - you never touch the solder with the heat source! Soldering is by definition, "The heating of a base metal to a point to where the filler metal melts and fill the gap between two pieces of base metal.The base metal itself is NEVER melted, only the filler metal. Because the base metal is never melted, there is always a weak area between the two metals where mechanical stress can indeed break them apart - hence it is NOT considered to be a good mechanical connection. GENERAL PROCEDUREIn doing ANY kind of soldering, there are some GENERAL practices that should be followed. The reasons for each of these procedures we will discuss in detail in a bit. I'll give you a list of the proceures first, and they HAVE to be done in order, or you will be risking a possibly bad connection, "cold" solder joint, or otherwise a problem that will cause your circuit to fail. Follow every step in this list, and you will be sure to make a good solder joint every time.
|

| (On The Following Indicator... PURPLE will indicate your current location) | |||||||||||||||||||||||
| 1 | 2 | 3 | 4 | 5 | 6 | 7 | 8 | 9 | 10 | ||||||||||||||
[COURSE INDEX] [ELECTRONICS GLOSSARY] [FREE ONLINE ELECTRONICS COURSE] [HOME]
| Otherwise - please click to visit an advertiser so they know you saw their ad! |
