

Making the Mechanical Connection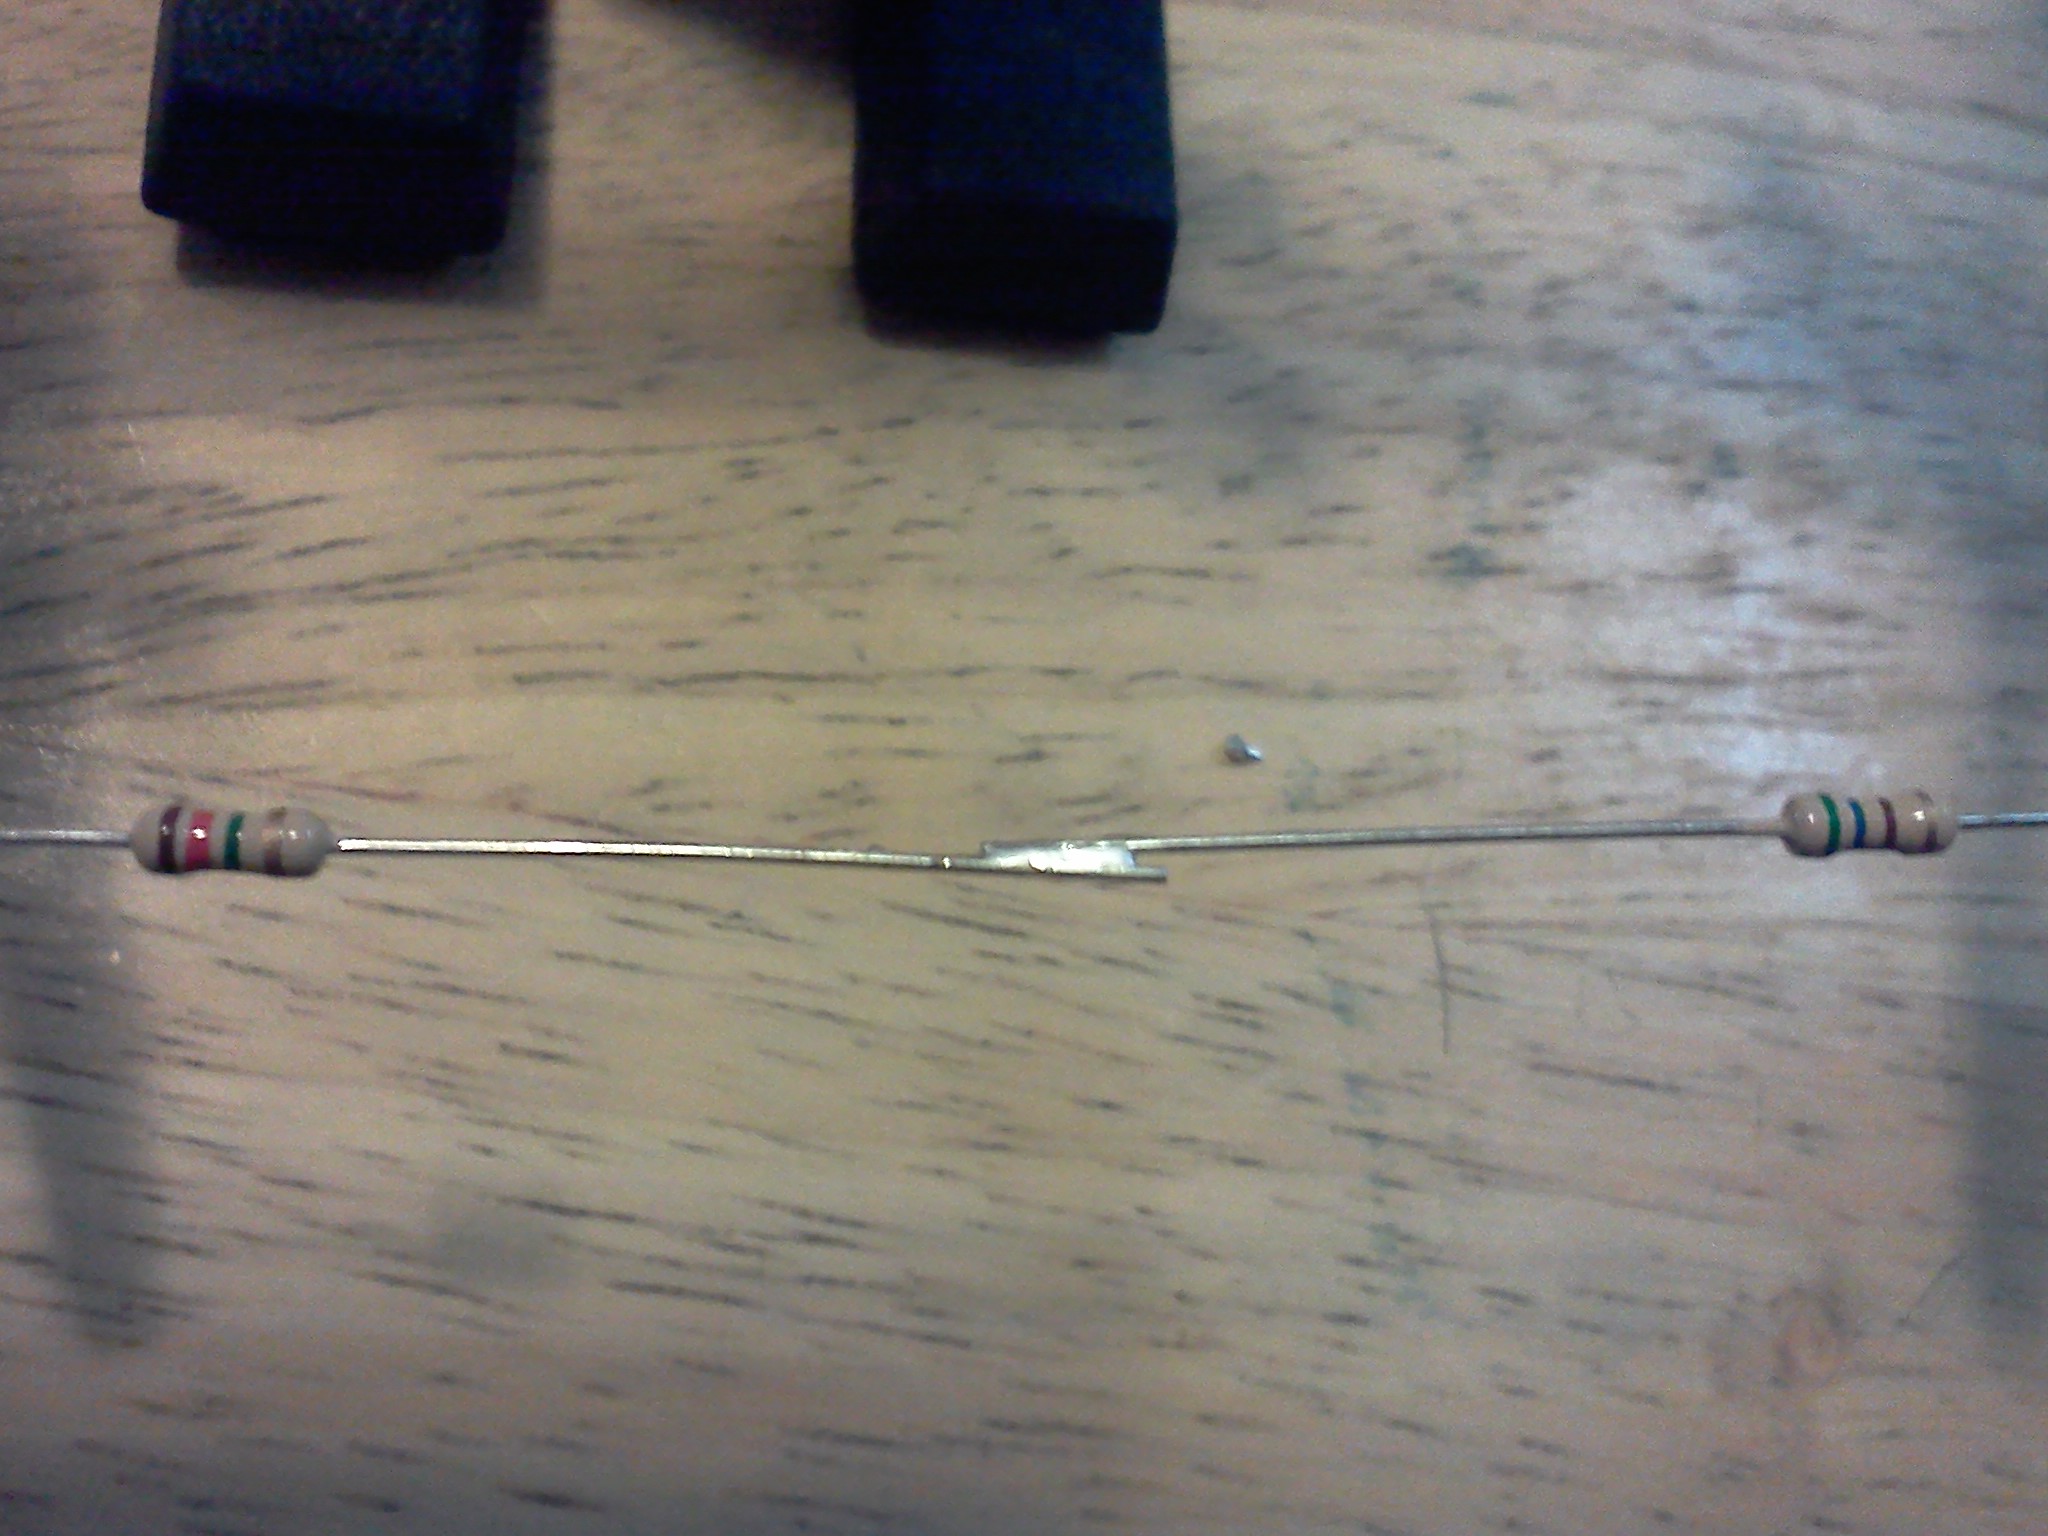
Lets assume you want to solder two resistor leads together. If you simply solder them together without twisting them, in any way, then any mechanical stress applied to the leads could easily pull them apart. This would be bad, especially if there is voltage applied to that wire at the time it comes loose! An accepted procedure is to put "hooks" on the ends of the two resistors, and then pinch the hooks. 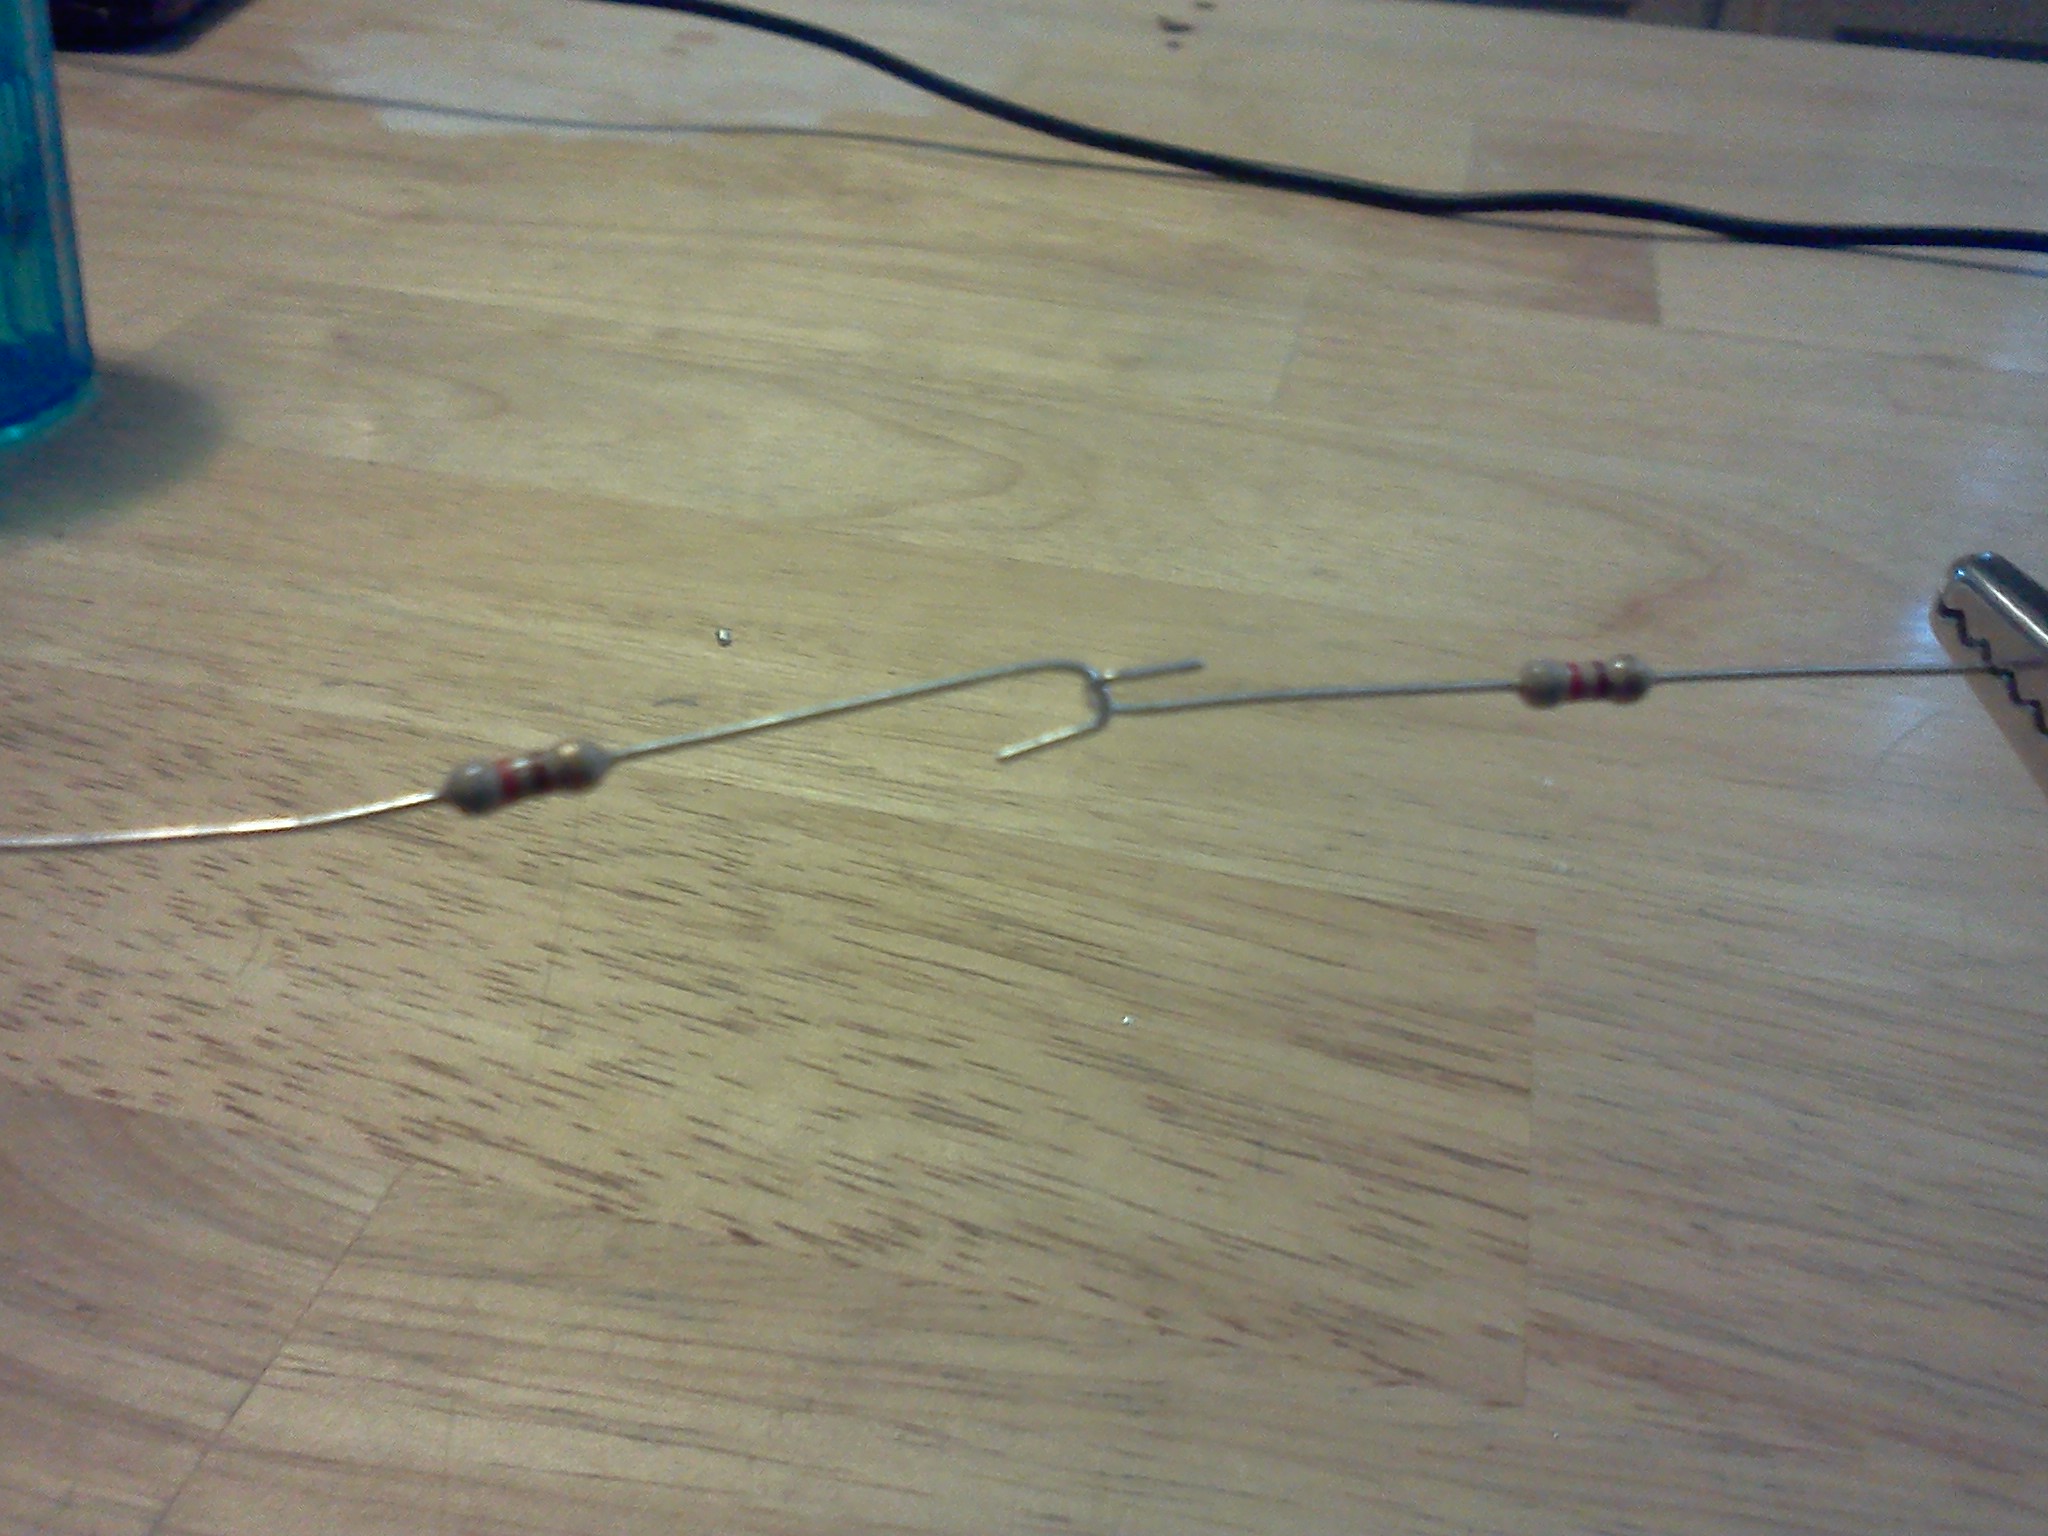 If you can lift one resistor with the other, and they don't move or come apart - then likely you can begin to solder them. Alternately, you can connect both resistors to some other connector, and put the hooks in the ends of the resistor through the connector, then solder both resistors to the connector. If you can lift one resistor with the other, and they don't move or come apart - then likely you can begin to solder them. Alternately, you can connect both resistors to some other connector, and put the hooks in the ends of the resistor through the connector, then solder both resistors to the connector.
After you have made the mechanical connection, it is time to heat up the solder iron. How fast your solder iron heats to a temperature that you can melt your solder depends on how many Watts your solder iron consumes. Gracefully put - the more Watts your iron has - the faster it will heat up. While you are waiting for your solder iron to heat up, (and assuming your solder iron is well supported and away from any flamable items), this would be a good time to get a cup of coffee, read some more of the course, or visit one of our sponsors (HINT) that pay for this page. Every click helps! Though there are variations in types of solder - for electronic work, a 40/60-ish blend of Lead and Tin is used, giving a melting point of around 370°F (185°C). There are "low temperature" solders (which we will discuss later) for sensitive work, and lead-free solders that require higher temperatures. Most solder irons will reach 600-900 degrees F. The 45W iron we suggest will easilly reach 900°F (480°C), and with the diode modification listed earlier which yields a "23 watt iron", you can achieve 700°F (370 °C). Needless to say - if it is hot enough to melt metal (other than mercury), you likely don't want to touch it with your fingers, clothes, kitchen table, paper, or anything else that could catch your house or work area on fire or injure you. Consider this your necessary legal warning. What you do with a solder iron - is YOUR fault - not mine! Be sure to read any further warning lables on your particular soldering equipment and supplies! Testing the IronIf you happen to be fortunate enough to afford a high end solder station, yours may come with a built in temperature probe that tells you EXACTLY what the temperature of your iron is. Alternately, you could use any contact type temperature probe, or even an infra red temperature sensor to determine the exact temperature of your solder iron. I on the other hand, do not have hot and cold running money - so I use the following approach:SMELL - first, I smell the iron to insure that it indeed is warming up. Being careful, of course not to touch my sensitive skin with the iron, and making sure there are no smart aleks in the room that might pat me on the back. I do NOT do this once I've established that it is hot - only when I first turn the iron on to make sure it indeed is heating. It is horribly frustrating to wait 10 minutes or so for an iron to heat up, begin to do your work, only to find out that the iron is stone cold. (typical causes - you forgot to plug it in, turn it on, or possibly the heating element itself has died). TOUCH - next, I touch the solder iron - not with my fingers silly - with the solder. If it begins to melt and flow on the iron - you are ready for work. If it does not - go back and click a few more of our advertisement links! |

| (On The Following Indicator... PURPLE will indicate your current location) | |||||||||||||||||||||||
| 1 | 2 | 3 | 4 | 5 | 6 | 7 | 8 | 9 | 10 | ||||||||||||||
[COURSE INDEX] [ELECTRONICS GLOSSARY] [FREE ONLINE ELECTRONICS COURSE] [HOME]
| Otherwise - please click to visit an advertiser so they know you saw their ad! |
