

|
Now that we have a good mechanical connection, and a tested HOT soldering iron, it is time to begin soldering - almost. CLEAN the Iron (and all connections)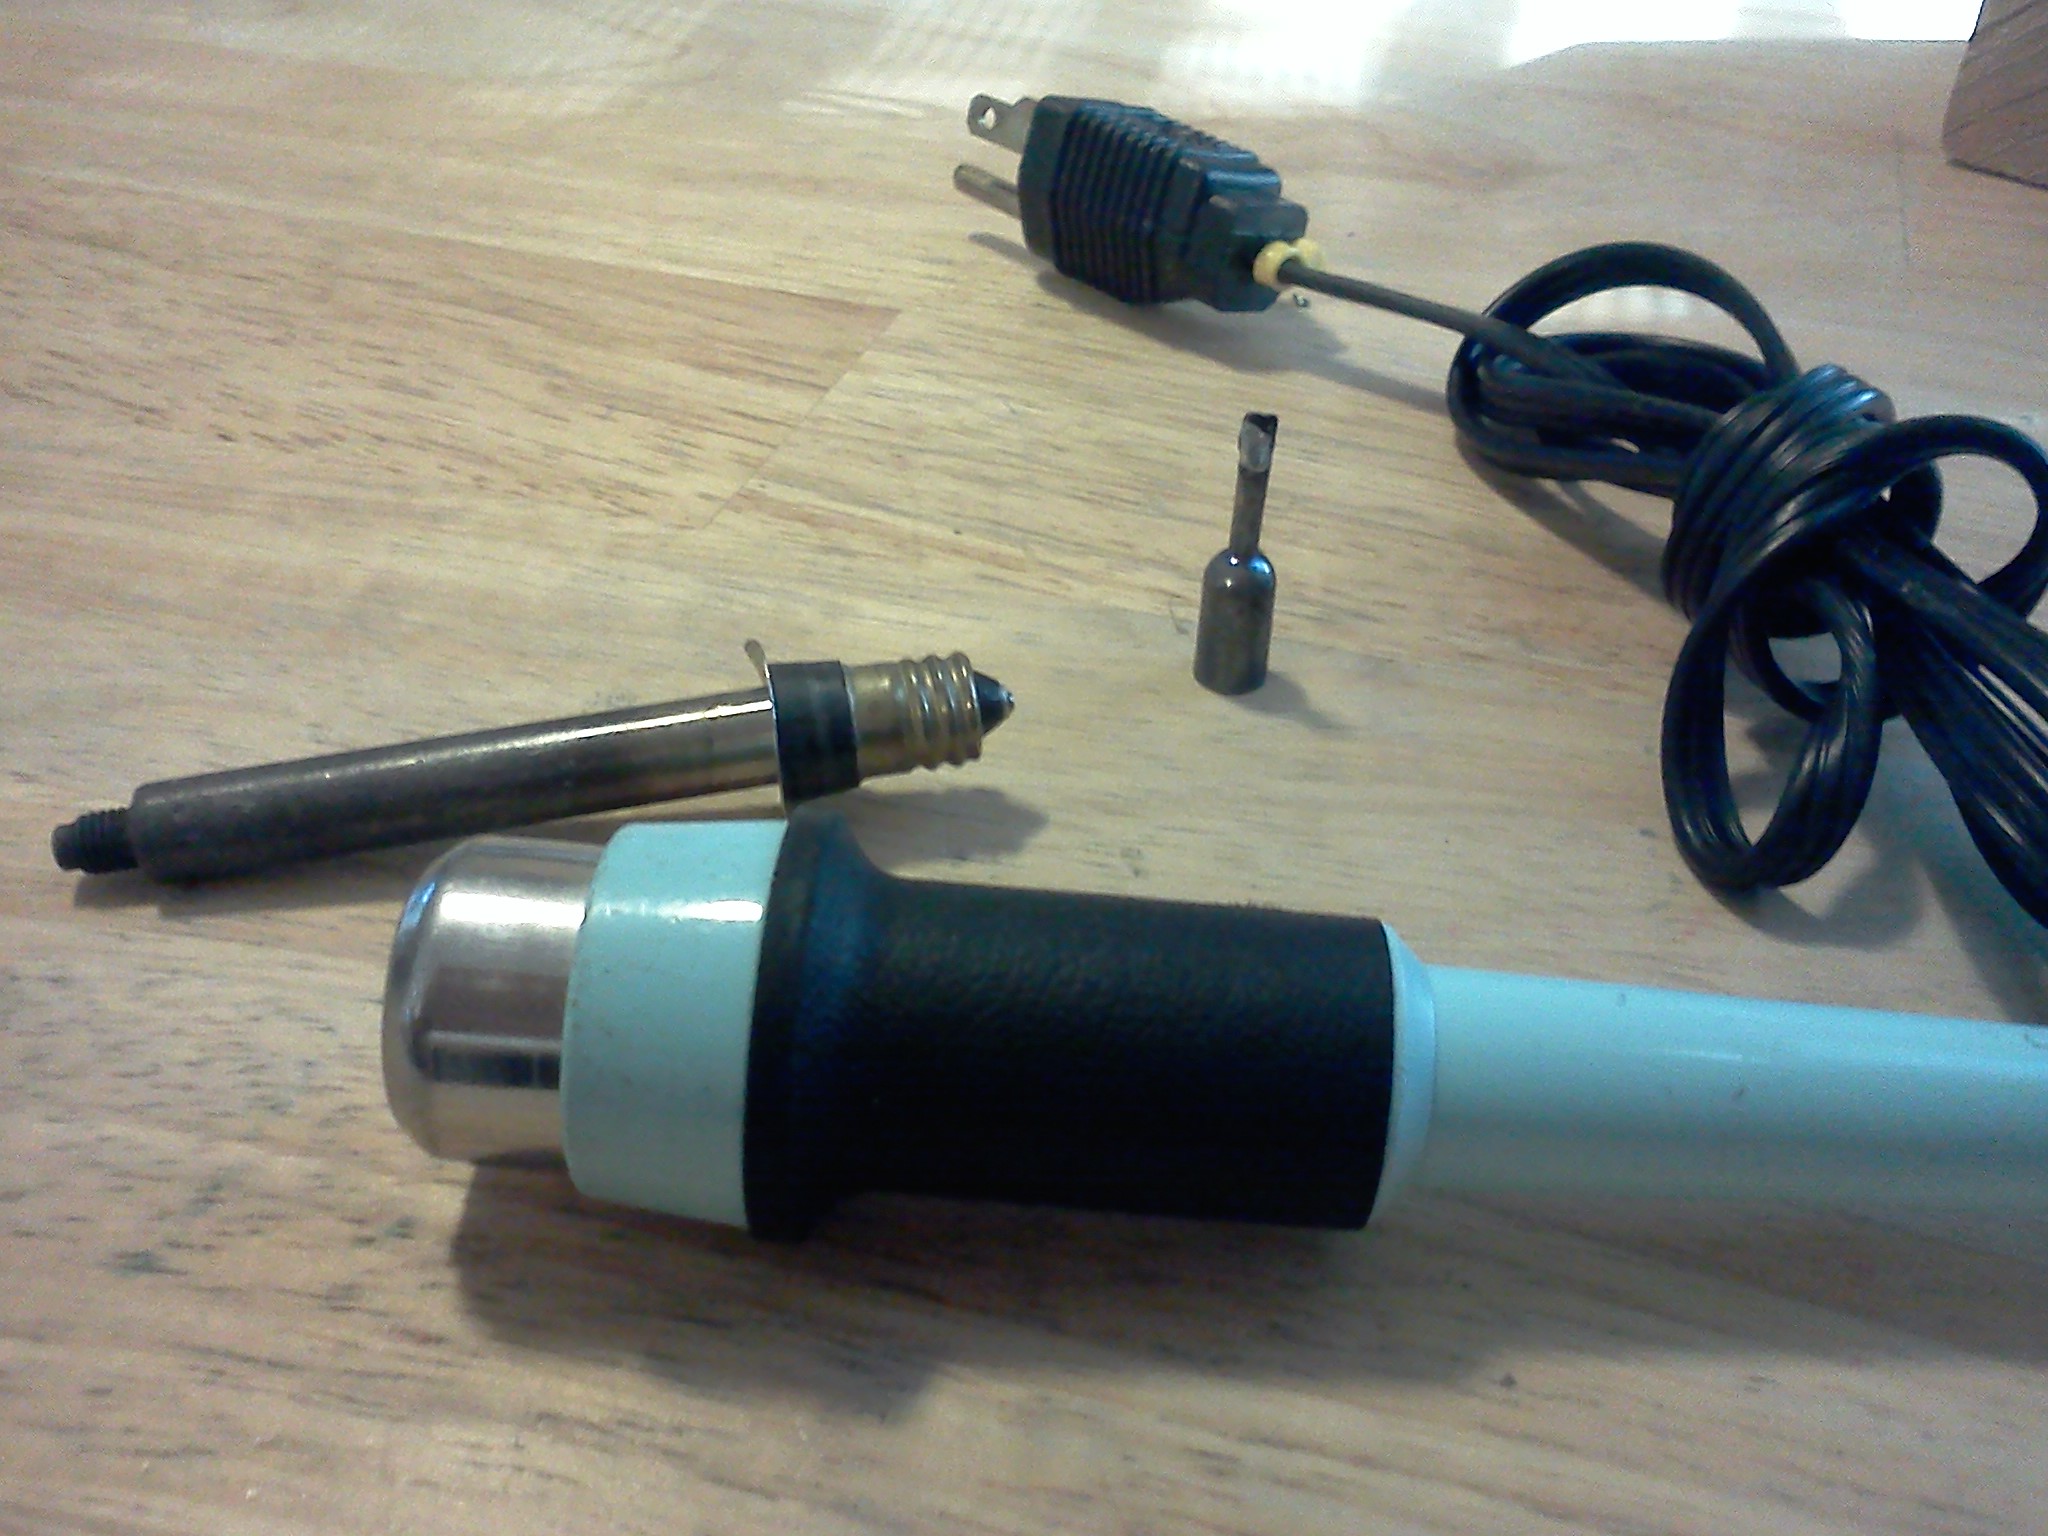 DON'T TOUCH THAT SOLDER until you are absolutely positively certain that everything is ready - and by ready I mean CLEAN! If bad is the opposite of good, then dirt is the opposite of solder. If either your solder iron, or your connection is dirty - you are going to have a heck of a time getting the solder to "stick" to it - no matter HOW hot your iron is! DON'T TOUCH THAT SOLDER until you are absolutely positively certain that everything is ready - and by ready I mean CLEAN! If bad is the opposite of good, then dirt is the opposite of solder. If either your solder iron, or your connection is dirty - you are going to have a heck of a time getting the solder to "stick" to it - no matter HOW hot your iron is!
To clean off the connection - use whatever it takes - alcohol, rubber pencil eraser, sandpaper, Scotch Brite ® pad, heck I don't care if you use a (clean) brass bristle brush - just make sure all your connections are clean before you get started.  To clean off your solder iron - try to be less drastic. Your solder iron is your friend - and on a battlefield - may save your life! While the iron is hot, wipe it with a WET sponge (water, not alcohol). If you don't have a sponge, you can substitute with a damp cloth, or even a damp paper towel. This should clean it off. If that doesn't work, "tin" the tip of the iron with a little bit of solder (remember - it is made of lead and tin), then wipe it with the sponge again. If this doesn't work after SEVERAL tries - you are down to a last resort. Let the iron cool down, then break out the file, and carefully (not losing the normal shape of the solder iron tip) file the grit off the tip, taking great care not to harm the tip itself. In some cases - this is forbiddingly destructive, as some tips are actually coated (electroplated) with REAL SILVER! However, in a pinch with the bombs going off around you - this will guaranteed clean off the tip of the iron. Do NOT forget to tin the iron immediately after you do this. As a side note - when cleaning the iron tip - sponges work best. No one knows why. Make sure whatever you use is clean and free of dirt or oil, and whatever you do - don't use your mom's table cloth! To clean off your solder iron - try to be less drastic. Your solder iron is your friend - and on a battlefield - may save your life! While the iron is hot, wipe it with a WET sponge (water, not alcohol). If you don't have a sponge, you can substitute with a damp cloth, or even a damp paper towel. This should clean it off. If that doesn't work, "tin" the tip of the iron with a little bit of solder (remember - it is made of lead and tin), then wipe it with the sponge again. If this doesn't work after SEVERAL tries - you are down to a last resort. Let the iron cool down, then break out the file, and carefully (not losing the normal shape of the solder iron tip) file the grit off the tip, taking great care not to harm the tip itself. In some cases - this is forbiddingly destructive, as some tips are actually coated (electroplated) with REAL SILVER! However, in a pinch with the bombs going off around you - this will guaranteed clean off the tip of the iron. Do NOT forget to tin the iron immediately after you do this. As a side note - when cleaning the iron tip - sponges work best. No one knows why. Make sure whatever you use is clean and free of dirt or oil, and whatever you do - don't use your mom's table cloth!
Tin the Iron (and all connections)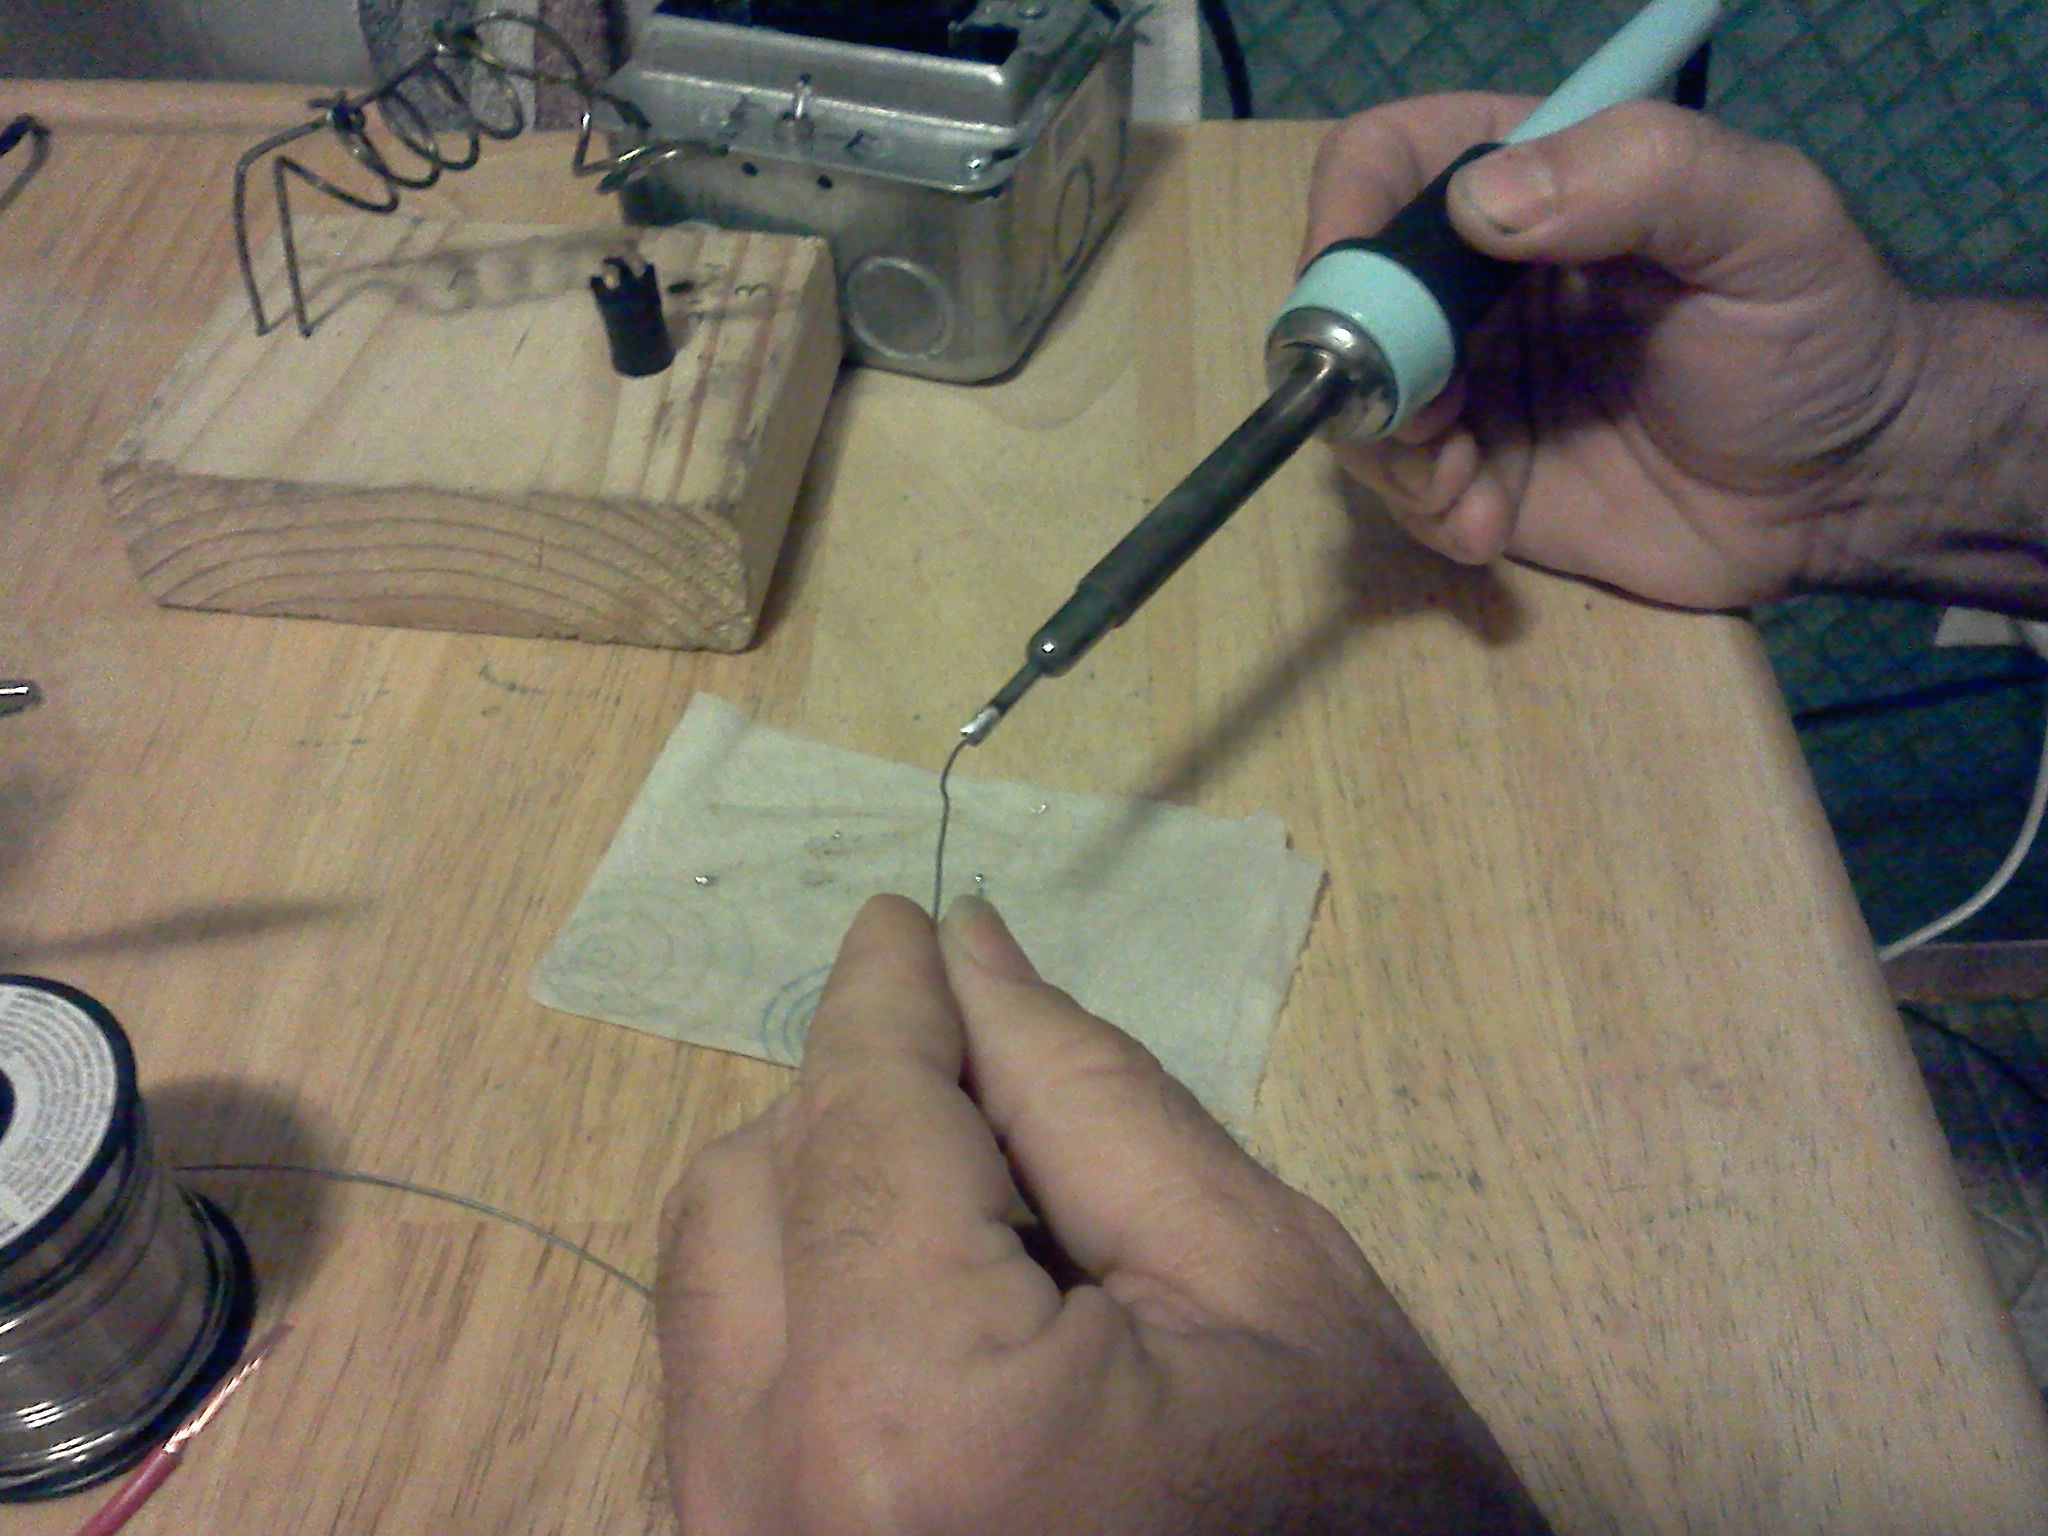 Tinning simply means putting a very light coat of solder on the tip of the iron. It helps the solder to flow quicker when you do get around to doing the actual soldering. You should tin the iron, tin the wire, tin the connector, tin the (fill in the blank). Then begin to assemble the pieces and finally solder them together. Tinning simply means putting a very light coat of solder on the tip of the iron. It helps the solder to flow quicker when you do get around to doing the actual soldering. You should tin the iron, tin the wire, tin the connector, tin the (fill in the blank). Then begin to assemble the pieces and finally solder them together.
Note that the tinning process does not mean GLOBBING massive amounts of solder onto something. Tinning (like any electrical soldering) is a lot like electroplating. You should be able to see all the details in whatever you are tinning. If it has a hole - it should not be "filled". If it is a stranded wire cable, you should be able to make out all the individual wires, yet every single wire should be coated with an extremely thin coat of solder. Once everything is cleaned off and tinned up, you are FINALLY ready to solder the connection - but we won't discuss that here - as doing it right will take a page all in itself. |

| (On The Following Indicator... PURPLE will indicate your current location) | |||||||||||||||||||||||
| 1 | 2 | 3 | 4 | 5 | 6 | 7 | 8 | 9 | 10 | ||||||||||||||
[COURSE INDEX] [ELECTRONICS GLOSSARY] [FREE ONLINE ELECTRONICS COURSE] [HOME]
| Otherwise - please click to visit an advertiser so they know you saw their ad! |
